If you live in an old city house, you likely have lead in your paint and lead in your soil. Dust from both paint and soil contributes to house dust, and lead in house dust is a major source of lead poisoning in babies and small children. Minimizing lead dust is therefore one of the most important things you can do for your children.
Begin by blocking dust from your house by covering bare soil in your yard, removing outdoor shoes, covering deteriorated paint, and placing air filters in opened windows. Whatever dust makes it into your house can be removed using the cleaning strategies and procedures in this brochure.
Lead dust particles come in two sizes: very small and microscopically small. Very small lead dust settles lightly and is easily stirred up into the air by dry sweeping. Microscopic lead dust tends to stick tightly to all surfaces, but has a special affinity for the natural oils on human hands. Small children playing on the floor are vulnerable to both airborne and settled dust.
Cleaning strategies for lead dust:
- To avoid stirring up inhalable dust, clean hard surfaces with wet or damp cloths.
- To capture the finest lead dust, use disposable electrostatic cloths and discard them promptly in a covered trash can (no re-use or recycling).
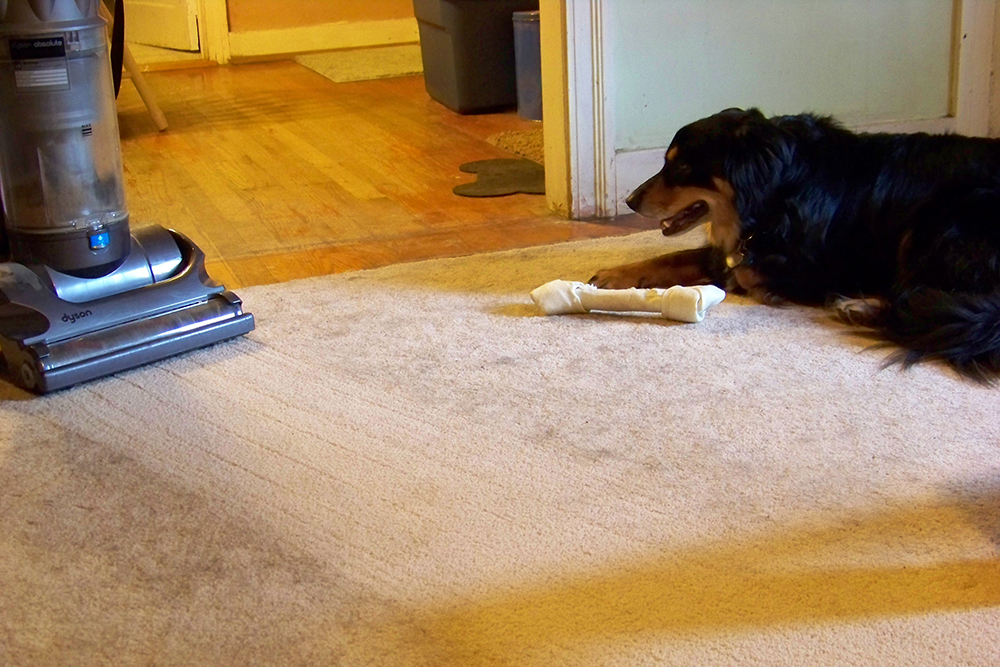
- To vacuum carpets, experts recommend a sealed HEPA vacuum or a high quality household vacuum with a HEPA filter (no shop vacs; they release dust). Very old or heavily contaminated carpets should be discarded or replaced.
- Vacuum carpets first and wait an hour for any disturbed dust to settle. Next, clean hard surfaces above the floor, such as window sills and wood furniture. Last, clean bare floors.
Dealing with lead dust in carpets
This information is from the Connecticut Department of Public Health. A lead dust test kit can tell you how much lead dust is on your carpets before and after cleaning.
- Routine carpet sweeping:
- Vacuum slowly in each direction (up and down, then side to side). Consider wearing a respirator certified for lead dust (N100), and if possible vacuum when children will not be in the house for several hours.
- Cleaning area rugs: Vacuum the top of the rug, then fold it in half (with the pile inside) and vacuum the rug and the floor you have uncovered. Turn the rug over and vacuum the other half and the floor. Unfold the rug and vacuum the top side again.
- Very old, threadbare, or heavily contaminated carpets should be discarded.
- Choose a time when children are not present and won’t return for several hours.
- Wearing disposable gloves, sleeve covers, and an N100 respirator, mist the carpet with water, roll it up along with the carpet pad, and wrap in a plastic sheet secured with tape. Discard with household trash.
- Cleaning contaminated wall-to-wall carpeting
- Working in sections, vacuum slowly from top to bottom then side to side.
- Follow with either professional or rental steam cleaning.
- Cover children’s play areas with area rugs, which are easier to clean.
Routine cleaning of hard surfaces
If you are cleaning after renovation or years of dust build-up, or if you are more comfortable using a bucket and a string mop, go to the section titled “Cleaning, RRP-Style.”
- Cleaning above the floor: window sills, table tops, counter tops, etc.:
- You will need: disposable gloves, household cleaner (Simple Green or Mr. Clean, ready-to-use), paper towels and shop towels.
- Put on the disposable gloves. Before you clean a granite countertop for the first time, test a small, inconspicuous area with the cleaner and let it dry.
- Wet a paper towel with household cleaner and wipe up loose dirt and debris. Discard in a plastic trash bag; for convenience, you can take the bag with you from room to room. If you find that wiping a surface creates paint chips or flakes, stop cleaning, let the surface dry, and cover the area with strong 2-inch tape or contact paper.
- Rinse thoroughly with a wetted rag-type shop towel.
- Cleaning bare floors (including finished wood floors):
- You will need: a Swiffer mop, a box of Dry Swiffer Cloths, a small broom (about 8 inches wide), medium binder clips, water in a plastic spray bottle, paper towels.
- Wet-sweep loose dirt and debris:
- Fold a Dry Swiffer Cloth up over the bristles of the small broom and attach it to the side bristles with the binder clips.
- Spray the cloth with water or wet it gently under the faucet. Starting at the far end of the room, mist a section of floor with water. Sweep just as you normally would, working in sections toward the door and misting the floor as you go. As loose dirt accumulates, pick it up with a wet paper towel and discard in the trash.
- Wash: Attach a fresh Swiffer Dry Cloth to the mop and spray both mop and floor with cleaner. Let the cleaner work for a few minutes, then wipe down the floor, pressing firmly to remove the finest dust. Replace the cloth as needed and discard all used cloths in the trash.
- Rinse:
- Attach the shop towel to the Swiffer mop and wet it thoroughly under the faucet.
- Again starting in the far end of the room, mist the floor with water and wipe it down thoroughly.
For decks and porches, as well as other rough flooring, you can use a flexible brush (not a stiff deck brush) instead of a Swiffer mop.
Cleaning RRP-Style – EPA/HUD rules for cleaning bare floors after Renovation, Repair, and Painting
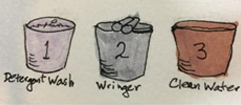
Assemble one or two string mops and three plastic buckets: the first with cleaning solution, the second empty and equipped with a wringer, and the third with clean water.
- Dip a string mop into the cleaning solution in the first bucket, and mop a section of the floor.
- Use the wringer in the empty bucket to squeeze the wash water out of the mop. Dip it back into bucket #1 and continue mopping in sections until the entire floor is cleaned.
- Use a clean mop to rinse the floor with clean water from the third bucket.
